Python Snowman #
Turtle graphics is a library in Python which can be used for drawing! You can imagine the turtle as a pen that you can move around the screen and draw with.
To start, we need to load the library using import:
import turtle
Setting Up the Screen #
We need to set up the width and height of the screen to draw on. We can save these values as a variable so that it is easy to understand your code
What is a variable?
A variable is a way to store information in a computer program. You can imagine it as a box with a label on it. The box stores something, and you refer to it by name on the label.
In the below example, the label is
width, and the contents is500.
width = 500
height = 500
Now we know the width and height, let’s create the screen.
We will store the screen in the variable s, so we can set the width, height and title.
s = turtle.Screen()
To setup the screen, we can use the s.setup() function.
What is a function?
A function calls a piece of code written somewhere else. You can pass values inside brackets called parameters, which the code can use.
Certain variables, like your screen
s, have functions written by other people that we can use. To use them, add a dot (.) after the variable, like below:
s.setup(width, height)
We can also add a title to your window!
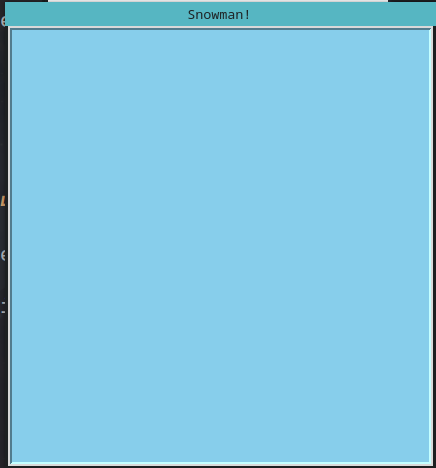
s.title("Snowman!")
We can also make the background colour blue, like the sky:
s.bgcolor("skyblue")
When you run your program, you should see a window on your screen.
Now lets create a turtle to draw with!
t = turtle.Pen()
We can set the speed of the turtle of a value between 1 and 10. 1 is the slowest, 10 is the fastest
t.speed(2)
Finally, to keep the window open, we will need to call a function call done from the turtle library.
Note: Python will execute your code from top to bottom, so keep this line at the bottom of your file so that it is the last thing to run!
turtle.done()
Great! We’re ready to draw
So far, your code should look like this:
import turtle

# Set up screen
width = 500
height = 500
s = turtle.Screen()
s.setup(width, height)
s.title("Snowman!")
s.bgcolor("skyblue")

# Create turtle
t = turtle.Pen()
t.speed(2)

# Keep the window open
turtle.done()
Optional but highly recommended: It is useful to divide sections of your project with comments as you go along. This makes it easier to refer back to them later to fix mistakes or change something. Comments are ignored by the computer so they won’t affect your project
To add a comment, simply add a
#before some text, such as:# this is a comment t = turtle.Pen() # Create the turtle
Base of the Snowman #
We are ready to create the first circle that will be the base of our snowman! In this step, we will go through each line in detail to explain what the code is doing.
In future steps, we won’t need to do this as we will re-use this code.
First, let’s tell our turtle what colour the pen should be:
t.color("white")
Next, our turtle needs to know what colour to fill in our circle:
t.fillcolor("white")
Let’s tell our turtle where to begin filling. This is important because we only want to colour-in certain areas:
t.begin_fill()
This next line tells the turtle to lift up the pen before we are ready. Just think how messy it would get if the pen stayed down before we had arrived where we wanted to draw!
t.penup()
Here is where we tell the turtle which position to go to with an x and y position on the screen:
t.setposition(0, -395)
Then we tell the turtle to put the pen back down on the page as we are ready to draw:
t.pendown()
Here is where we tell our turtle to draw the circle, the number that we input here is the radius of the circle:
t.circle(150)
Last but not least, we tell the turtle to stop filling in the shape:
t.end_fill()
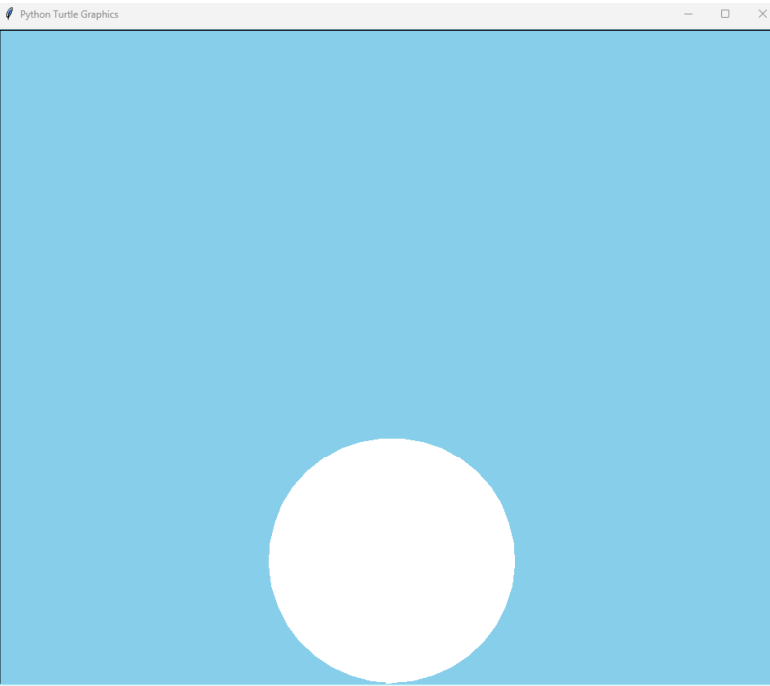
Congratulations!
Your turtle should draw the base of the snowman!
The Power of Functions #
The design of the snowman will have a lot of circles which could mean repeating ourselves over and over again… boring!
This is why programmers use functions! Understanding these will make our snowman come to life much quicker!
A function is like a box where we can store code so that we can re-use it again in the future if we want to, without having to write it all out again.
In Python, the word
defmarks the start of a function.This is followed by the function’s name, in this case
favourite_foods.After this we always end the first line of our function with
():Anything that we put after this first lin eis moved over to the right by using the ’tab’ key on your keyboard. This tells the computer that the code is part of the instructions that we are putting inside the function box.
For example, if we wanted our code to list our favourite foods, we could write it like this:
def favourite_foods():
    print("pizza")
    print("biscuits")
    print("chips")
This code won’t do anything at the moment, as we need to ‘call’ it. ‘Calling’ a function is how we use the set of instructions that we have put inside it.
We can do this simply by writing the name of the function on the left, followed by brackets
favourite_foods()Our code would then write “pizza biscuits chips” on the screen because that is what the instructions inside
favourite_foods()tell the computer to do.Sometimes though, our favourite foods change and we need a way to make our set of instructions easily re-usable.
There is one final part to our function called ‘arguments’. Arguments allow us to give information to the functions so that it can use this information when the time comes.
Let’s take our
favourite_foods()function for example.def favourite_foods(food1, food2, food3): print(food1) print(food2) print(food3)We are telling our function that when we use itm we will tell it at that moment in time what our 3 favourite foods are with 3 arguments.
If we use this function, we would call it like this:
favourite_foods("pizza", "biscuits", "chips")Our code would then write out the same line as before: “pizza biscuits chips”.
If we wanted to change our minds however, we could change the arguments we call the function with:
favourite_foods("pizza", "chocolate", "chips")This would then write “pizza chocolate chips”!
Let’s take what we have learnt about functions and apply it to our snowman!
At the moment, you should have the following code:
t.color("white")
t.fillcolor("white")
t.begin_fill()
t.penup()
t.setposition(0, -395)
t.pendown()
t.circle(150)
t.end_fill()
Now let’s put our code inside of a function like this:
def draw_circle():
    t.color("white")
    t.fillcolor("white")
    t.begin_fill()
    t.penup()
    t.setposition(0, -395)
    t.pendown()
    t.circle(150)
    t.end_fill()
Because we want to re-use our function for other circles as well, we need to replace some of the information with arguments to make it reusable:
def draw_circle(x, y, radius, pen_color, fill_color):
    t.color(pen_color)
    t.fillcolor(fill_color)
    t.begin_fill()
    t.penup()
    t.setposition(x, y)
    t.pendown()
    t.circle(radius)
    t.end_fill()
In our code we have now replaced the specific values with arguments, which allows us to specify these when we call the functions as you’ll see below!
Now that we have the function finished, nothing will be printed to the screen unless we call it with the correct arguments passed in. Below your function, call it with the specific values that we had before:
# Lower body
draw_circle(0, -395, 150, "white", "white")
Drawing the Body and Head of the Snowman! #
If you have gotten this far, well done!
Your hard work is paying off now that we are using functions to build our snowman. As you’ll see, this next section will be much simpler because of it.
The body and head of our snowman are made of two more circles, which is great, because we have a function that can draw circles!``
We just need to pass our functions the correct arguments that correspond to the
xandyposition, theradiusof the circle and the colours!
Below the last function that we called to draw the snowman’s base, call another one with new arguments passed in like this:
# Middle body
draw_circle(0, -140, 100, "white", "white")
Now let’s add another underneath like before, which will draw a circle for the head:
# Head
draw_circle(0, 30, 70, "white", "white")
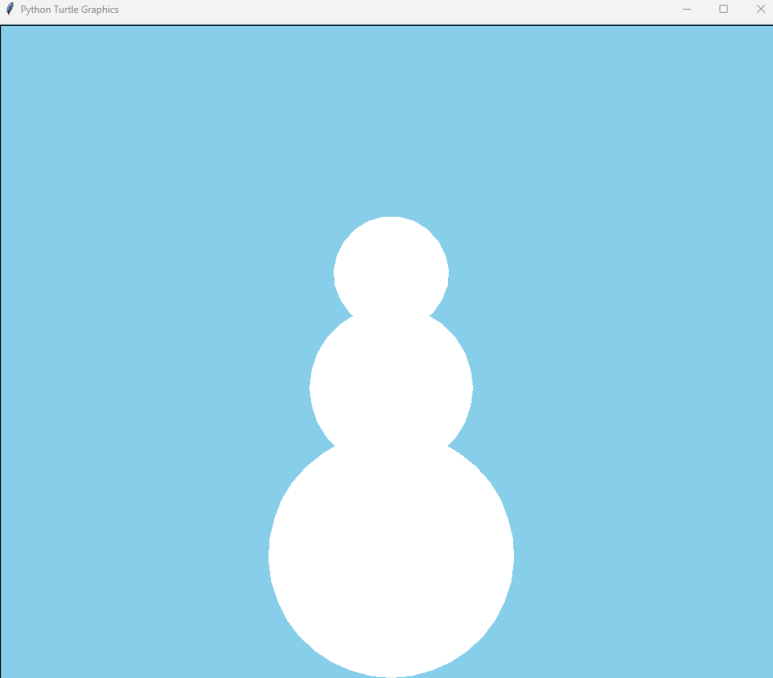
Congratulations!
You’ve drawn the snowman’s body and head!
Optional: As we add more sections to our drawing, we may not want to wait for our snowman to draw each time we press run.
If you don’t want to wait, you can add this line of code at the top of your project just below
t.bgcolor("skyblue"):t.speed(0)You can also make the turtle visible with:
t.shape("turtle")And hide the cursor all together with:
t.hideturtle()
Adding a Face and Buttons #
Lets call our function again a few more times to create the eyes, mouth and buttons of our snowman!
Below the last function that we called, call another one to draw the left eye:
# Left eye
draw_circle(-30, 110, 8, "black", "black")
And another for the right eye:
# Right eye
draw_circle(30, 110, 8, "black", "black")
Now lets call some more functions to draw circles for the mouth:
# Mouth
draw_circle(-25, 75, 2, "black", "black")
draw_circle(-15, 70, 2, "black", "black")
draw_circle(-5, 68, 2, "black", "black")
draw_circle(5, 68, 2, "black", "black")
draw_circle(15, 70, 2, "black", "black")
draw_circle(25, 75, 2, "black", "black")
Let’s use our circle function for the last time to add some buttons:
# Buttons
draw_circle(0, -20, 8, "black", "black")
draw_circle(0, -50, 8, "black", "black")
draw_circle(0, -80, 8, "black", "black")
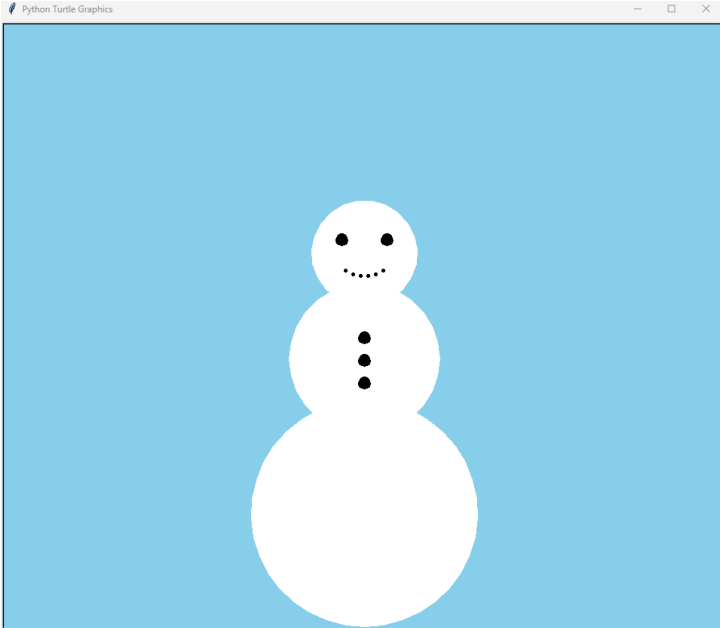
Congratulations!
Our snowman is taking shape!
Run your program and watch the face and buttons appear!
Drawing the Nose #
Now let’s add a carrot for our snowman’s nose!
For this section we will guide our turtle manually as we cannot use our draw_circle function.
We will do this with commands such as:
t.forward()- this tells our turtle to move forwards in whichever direction it is facing. The number tells the turtle how far to move.t.left()andt.right()- this command tells our turtle to turn left or right and the number is the amount of degrees to turn.
These commands are useful for any other projects that you’ll work on in the future.
Below the functions that we called to draw the face and buttons, let’s add this code for the nose:
# Nose
t.color("orange")
t.fillcolor("orange")
t.penup()
t.setposition(0, 105)
t.begin_fill()
t.pendown()
t.right(150)
t.forward(30)
t.left(150)
t.forward(30)
t.goto(0, 105)
t.end_fill()
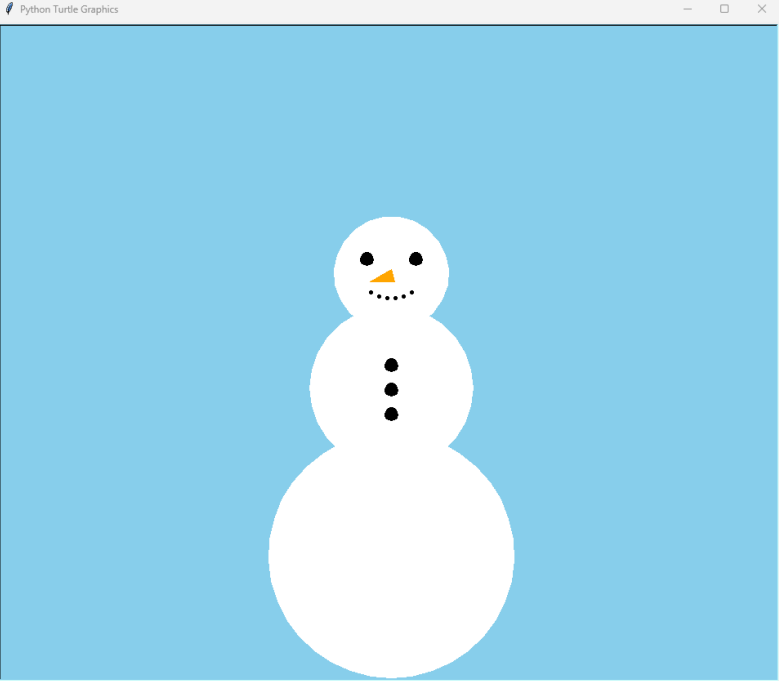
Congratulations!
You should see your nose drawn in the correct place!
Drawing the Hat #
Time to out a hat on our snowman!
We can’t use our draw_circle() function, so we will guide our turtle manually again.
We also use a new command here:
t.pensize(5) - This changes the thickness of our pen which is useful to remember for other projects that you work on.
Below the code that we wrote to draw the snowman’s nose, let’s add some more code to draw our snowman’s hat:
# Hat
t.color("black")
t.fillcolor("black")
t.begin_fill()
t.penup()
t.pensize(5)
t.setposition(0, 150)
t.pendown()
t.forward(75)
t.left(90)
t.forward(10)
t.left(90)
t.forward(40)
t.right(90)
t.forward(60)
t.left(90)
t.forward(70)
t.left(90)
t.forward(60)
t.right(90)
t.forward(40)
t.left(90)
t.forward(10)
t.left(90)
t.goto(0, 150)
t.end_fill()
If you run the code now, you will see that we have given our snowman a top hat, but we need to finish it off with a piece of ribbon:
# Ribbon
t.color("red")
t.fillcolor("red")
t.begin_fill()
t.penup()
t.setposition(1, 165)
t.pendown()
t.forward(34)
t.left(90)
t.forward(10)
t.left(90)
t.forward(70)
t.left(90)
t.forward(10)
t.setposition(1, 165)
t.end_fill()
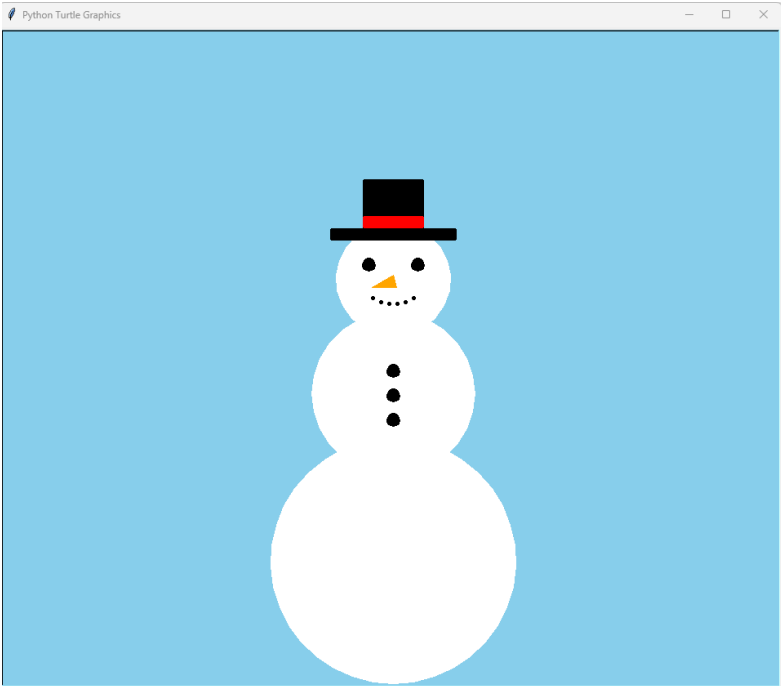
Congratulations!
Run your code and take a look at our new top hat, complete with ribbon!
Adding Arms #
It’s time to add the last part of our snowman, the arms!
We need to draw two arms, but we don’t want all of our code repeated!
This would be a good place to create another function to draw each arm.
Let’s add a new function:
# Arms
def draw_arm(x, y, pen_color):
    t.color(pen_color)
    t.pensize(7)
    t.penup()
    t.setposition(x, y)
    t.pendown()
    t.left(115)
    t.forward(100)
    t.left(45)
    t.forward(30)
    t.right(180)
    t.forward(30)
    t.left(90)
    t.forward(30)
    t.left(180)
    t.forward(30)
    t.right(130)
    t.forward(30)
Now we add a call to the function to draw the right arm:
# Right arm
draw_arm(70, -40, "chocolate")
And another for the left arm:
# Left arm
draw_arm(-70, -40, "chocolate")
In progessional programming there is a principle called D.R.Y, which stands for:
- Don’t
- Repeat
- Yourself
This is a best practice that developers use to keep code clean and avoid adding unnecessary code. The coolest part is that you have been using the D.R.Y principle here today, to prevent having to repeat many lines of code to draw circles and arms!
Well done!
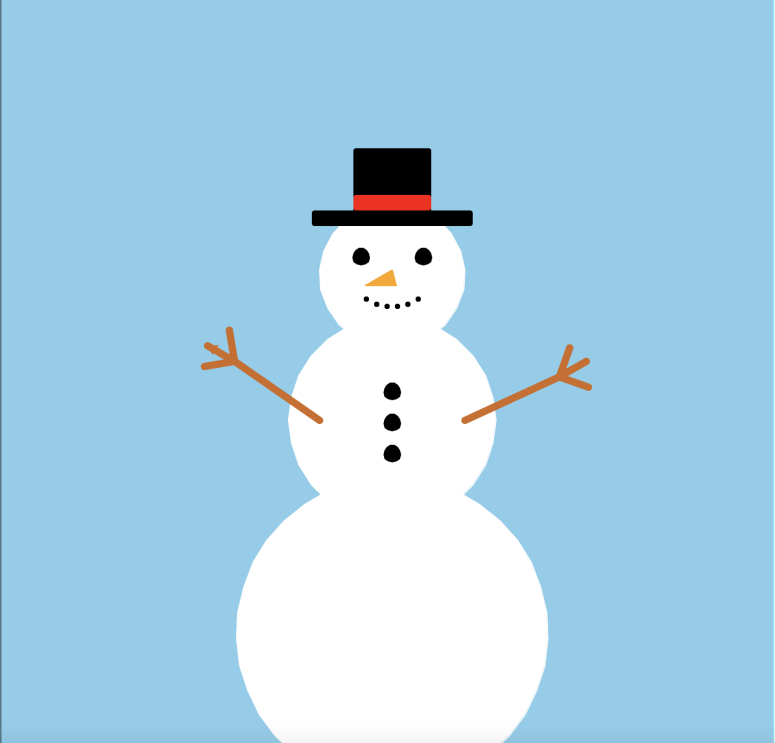
Remember that this is your design and you can change it however you like! How about a different coloured hat, or ribbon, or buttons? Why not make your drawing into a Christmas card for family and friends!
Or even take what you’re learnt and draw your own patterns and pictures!
The complete code can be viewed here